
How to Install Magento 2.4.8 on Ubuntu 24.04
Magento is one of the most powerful eCommerce platforms available today. It offers enterprise-level flexibility, advanced product management, extensive customization options, and a strong ecosystem for businesses of every size.
Installing Magento correctly is essential for achieving good performance, security, and long-term stability. A poorly configured server can lead to slow page loading, indexing issues, failed upgrades, and unnecessary maintenance problems.
This guide walks you through a complete installation of Magento 2.4.8 on Ubuntu 24.04 using a modern software stack consisting of:
- Ubuntu 24.04 LTS
- Nginx
- PHP 8.4
- MySQL 8
- OpenSearch
- Composer
By the end of this tutorial, you will have a fully functional Magento installation ready for development or production deployment.
Why Ubuntu 24.04?
Ubuntu 24.04 is a Long-Term Support (LTS) release that provides stability, regular security updates, and excellent compatibility with modern web technologies.
Some advantages include:
- Long-term security updates
- Stable package management
- Excellent PHP support
- Reliable performance
- Wide community support
- Suitable for cloud platforms such as AWS, DigitalOcean, Azure, and Google Cloud
For Magento deployments, Ubuntu remains one of the most widely adopted Linux distributions because of its reliability and extensive documentation.
Minimum Server Requirements
Before beginning the installation, ensure your server meets these minimum requirements.
| Component | Recommended |
|---|---|
| Operating System | Ubuntu 24.04 LTS |
| CPU | 2 Cores or Higher |
| Memory | 4 GB Minimum (8 GB Recommended) |
| Storage | 40 GB SSD or NVMe |
| PHP | 8.4 |
| Database | MySQL 8 |
| Search Engine | OpenSearch |
| Web Server | Nginx |
| Composer | Latest Version |
| SSL | Recommended for Production |
For development environments, 4 GB of RAM is generally sufficient. Production servers should have at least 8 GB of memory along with SSD or NVMe storage to ensure smooth performance.
Prerequisites
Before installing Magento, make sure the following prerequisites are completed:
- A fresh Ubuntu 24.04 server
- A user with sudo privileges
- Root or SSH access
- A registered domain name (recommended)
- Firewall configured
- Internet connectivity
- Basic Linux command-line knowledge
Using a clean server avoids dependency conflicts and makes troubleshooting much easier later in the installation process.
Installation Overview
The installation process consists of the following major steps:
- Update Ubuntu packages
- Install Nginx
- Install PHP 8.4
- Configure PHP
- Install Composer
- Install MySQL 8
- Create the Magento database
- Install OpenSearch
- Download Magento
- Configure file permissions
- Install Magento
- Configure Nginx
- Enable SSL
- Configure Cron Jobs
- Verify the installation
Let's begin by preparing the Ubuntu server.
Step 1 – Update the Ubuntu Server
The first step in any server installation is to update the operating system. This ensures that all installed packages are up to date with the latest security patches and bug fixes.
Run the following commands:
bashsudo apt update sudo apt upgrade -y
What these commands do
apt updaterefreshes the package repository information.apt upgradeinstalls the latest available package updates.
Depending on your server, this process may take several minutes.
After the update completes, reboot the server if a new Linux kernel has been installed.
bashsudo reboot
Reconnect to your server using SSH after the reboot.
Verify your Ubuntu version:
bashlsb_release -a
Expected output should display Ubuntu 24.04 LTS.
Step 2 – Install Nginx
Magento performs exceptionally well with Nginx because of its low memory usage and high performance.
Install Nginx by running:
bashsudo apt install nginx -y
Once the installation is complete, enable the service so it starts automatically whenever the server boots.
bashsudo systemctl enable nginx
Start the web server.
bashsudo systemctl start nginx
Verify that Nginx is running correctly.
bashsudo systemctl status nginx
You should see a status similar to:
Active: active (running)
You can also verify from a web browser by visiting your server IP address.
If everything is configured correctly, the default Nginx welcome page will be displayed.
Step 3 – Configure the Firewall
Ubuntu uses UFW (Uncomplicated Firewall) to manage firewall rules.
Allow HTTP traffic:
bashsudo ufw allow 'Nginx Full'
Enable the firewall.
bashsudo ufw enable
Verify the configuration.
bashsudo ufw status
Expected output:
Status: active

80/tcp
443/tcp
Allowing both HTTP and HTTPS traffic ensures that your Magento storefront remains accessible after SSL is configured.
Step 4 – Install PHP 8.4
Magento 2.4.8 requires PHP 8.4.
Ubuntu 24.04 already includes PHP 8.4 in its official repositories, making installation straightforward.
Install PHP together with the extensions required by Magento.
bashsudo apt install php8.4 \ php8.4-fpm \ php8.4-cli \ php8.4-common \ php8.4-mysql \ php8.4-bcmath \ php8.4-curl \ php8.4-gd \ php8.4-intl \ php8.4-mbstring \ php8.4-soap \ php8.4-xml \ php8.4-zip \ php8.4-opcache \ php8.4-readline \ php8.4-xsl \ php8.4-sockets \ php8.4-ldap -y
The installation may take a few minutes depending on your server and internet connection.
Step 5 – Verify PHP Installation
After installing PHP, verify that the installation completed successfully.
bashphp -v
You should see output similar to:
PHP 8.4.x (cli)
To confirm that all required extensions are available, run:
bashphp -m
The output should include modules such as:
- bcmath
- curl
- gd
- intl
- mbstring
- mysqli
- openssl
- PDO
- soap
- xml
- zip
If any required extension is missing, install it before continuing with the Magento installation.
Step 6 – Configure PHP
Magento performs significantly better when PHP is configured with appropriate limits.
Open the PHP configuration file.
bashsudo nano /etc/php/8.4/fpm/php.ini
Update the following values.
inimemory_limit = 2G max_execution_time = 1800 max_input_time = 1800 upload_max_filesize = 64M post_max_size = 64M zlib.output_compression = On
Save the file.
Restart PHP-FPM to apply the changes.
bashsudo systemctl restart php8.4-fpm
Verify that the service is running.
bashsudo systemctl status php8.4-fpm
Once PHP is configured correctly, the server is ready for installing Composer and the remaining Magento dependencies.
Step 7 – Install Composer
Composer is the official dependency manager for PHP and is required to download and manage Magento packages.
Download the latest Composer installer.
bashcd /tmp curl -sS https://getcomposer.org/installer -o composer-setup.php
Verify the installer signature (recommended for production environments).
bashHASH=$(curl -sS https://composer.github.io/installer.sig) php -r "if (hash_file('sha384', 'composer-setup.php') === '$HASH') { echo 'Installer verified'; } else { echo 'Installer corrupt'; unlink('composer-setup.php'); } echo PHP_EOL;"
Install Composer globally.
bashsudo php composer-setup.php --install-dir=/usr/local/bin --filename=composer
Remove the installer.
bashrm composer-setup.php
Verify the installation.
bashcomposer --version
Expected output:
textComposer version 2.x.x
Composer is now available system-wide and can be used by Magento and other PHP applications.
Step 8 – Install MySQL 8
Magento stores all catalog data, customer information, orders, configuration settings, and CMS content inside a MySQL database.
Install the MySQL server.
bashsudo apt install mysql-server -y
Enable MySQL.
bashsudo systemctl enable mysql
Start the service.
bashsudo systemctl start mysql
Verify the service status.
bashsudo systemctl status mysql
Expected output:
textActive: active (running)
Step 9 – Secure MySQL
Run the MySQL security script.
bashsudo mysql_secure_installation
The script will ask several questions.
Recommended answers:
| Question | Recommended Answer |
|---|---|
| Validate Password Component | No |
| Remove Anonymous Users | Yes |
| Disallow Remote Root Login | Yes |
| Remove Test Database | Yes |
| Reload Privilege Tables | Yes |
These settings improve the security of your MySQL installation.
Step 10 – Create the Magento Database
Log in to MySQL.
bashsudo mysql
Create a new database.
sqlCREATE DATABASE magento;
Create a dedicated Magento user.
sqlCREATE USER 'magento'@'localhost' IDENTIFIED BY 'StrongPasswordHere';
Grant the required privileges.
sqlGRANT ALL PRIVILEGES ON magento.* TO 'magento'@'localhost';
Reload the privileges.
sqlFLUSH PRIVILEGES;
Exit MySQL.
sqlEXIT;
Using a dedicated database user instead of the root account is considered a security best practice.
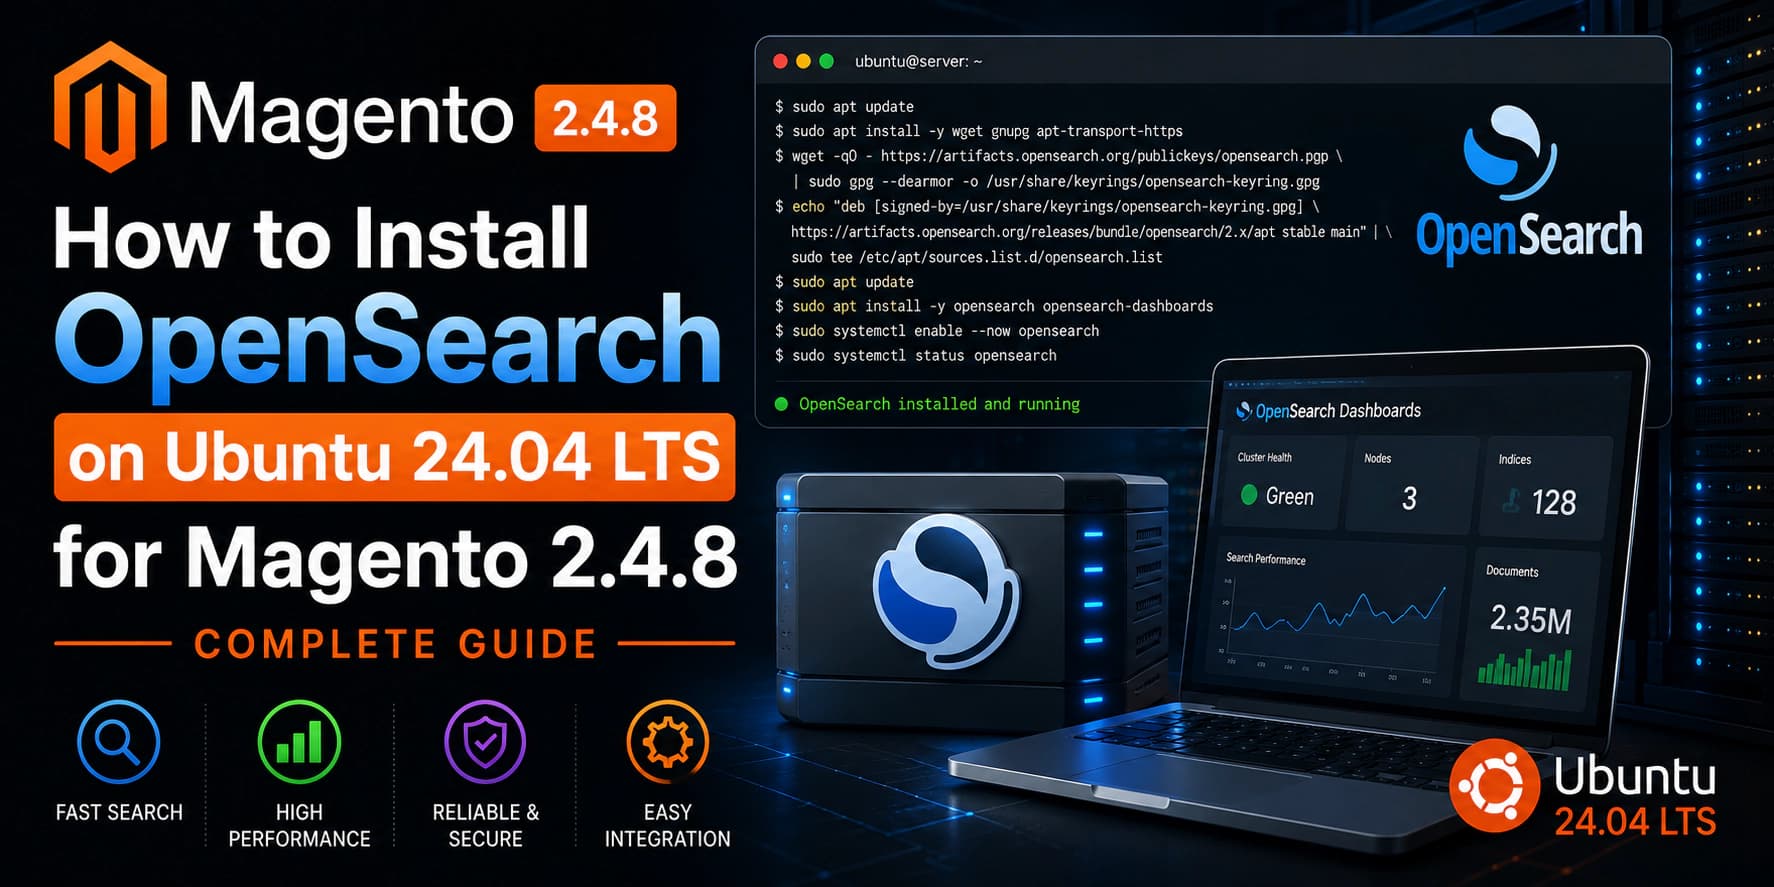
Step 11 – Install OpenSearch
Magento 2.4.8 requires a supported search engine.
OpenSearch is the recommended option because it is actively maintained, open source, and fully compatible with Magento.
Install Java.
bashsudo apt install openjdk-21-jdk -y
Verify the installation.
bashjava -version
Expected output:
textopenjdk version "21"
Import the OpenSearch repository key.
bashcurl -o- https://artifacts.opensearch.org/publickeys/opensearch.pgp \ | sudo gpg --dearmor \ -o /usr/share/keyrings/opensearch-keyring
Add the repository.
bashecho "deb [signed-by=/usr/share/keyrings/opensearch-keyring] https://artifacts.opensearch.org/releases/bundle/opensearch/2.x/apt stable main" \ | sudo tee /etc/apt/sources.list.d/opensearch.list
Update package information.
bashsudo apt update
Install OpenSearch.
bashsudo apt install opensearch -y
Step 12 – Configure OpenSearch
Edit the configuration file.
bashsudo nano /etc/opensearch/opensearch.yml
Update the following values.
yamlnetwork.host: 127.0.0.1 http.port: 9200 discovery.type: single-node
Save the file.
Enable the service.
bashsudo systemctl enable opensearch
Restart OpenSearch.
bashsudo systemctl restart opensearch
Verify the status.
bashsudo systemctl status opensearch
The service should show:
textActive: active (running)
Step 13 – Verify OpenSearch
Run:
bashcurl -X GET http://localhost:9200
If everything is configured correctly, you should receive a JSON response similar to:
json{ "name": "ubuntu-server", "cluster_name": "opensearch", "version": { "number": "2.x.x" } }
This confirms that OpenSearch is running successfully and is ready for Magento.
At this stage, your server has all the major software required to run Magento:
- Ubuntu 24.04
- Nginx
- PHP 8.4
- Composer
- MySQL 8
- OpenSearch
The next section covers downloading Magento, configuring file permissions, and running the Magento installer.
Step 14 – Create the Web Root Directory
Before downloading Magento, create a directory where the application will be stored.
A common location for Nginx websites is /var/www/.
Run:
bashsudo mkdir -p /var/www/magento
Assign ownership to your current user so Composer can download files without permission issues.
bashsudo chown -R $USER:$USER /var/www/magento
Move into the newly created directory.
bashcd /var/www/magento
Verify the current directory.
bashpwd
Expected output:
text/var/www/magento
Step 15 – Download Magento Using Composer
Magento recommends installing the application using Composer because it simplifies dependency management and future upgrades.
Download Magento Community Edition.
bashcomposer create-project --repository-url=https://repo.magento.com/ \ magento/project-community-edition .
During the installation, Composer will ask for your Magento Marketplace Public Key and Private Key.
Example:
textUsername: Public Key Password: Private Key
You can generate these keys by signing in to your Adobe Commerce Marketplace account and creating new access keys.
Composer will now download all Magento dependencies.
Depending on your internet connection, this process may take several minutes.
After completion, verify that the files were downloaded successfully.
bashls
You should see folders similar to:
textapp bin dev generated lib pub setup var vendor
Step 16 – Configure File Permissions
Correct file permissions are essential for Magento to function properly.
First, change ownership.
bashsudo chown -R www-data:www-data /var/www/magento
Set directory permissions.
bashsudo find var generated vendor pub/static pub/media app/etc -type f -exec chmod g+w {} +
Set directory write permissions.
bashsudo find var generated vendor pub/static pub/media app/etc -type d -exec chmod g+ws {} +
Give execute permission to the Magento CLI.
bashsudo chmod +x bin/magento
Verify the file.
bashls -l bin/magento
Step 17 – Install Magento
Now it's time to install Magento.
Run the setup command.
Replace the values below with your own domain name, database credentials, and administrator information.
bashbin/magento setup:install \ --base-url=https://yourdomain.com \ --db-host=localhost \ --db-name=magento \ --db-user=magento \ --db-password=StrongPasswordHere \ --admin-firstname=Admin \ --admin-lastname=User \ --admin-email=admin@example.com \ --admin-user=admin \ --admin-password='Admin@1234' \ --language=en_US \ --currency=USD \ --timezone=Asia/Kolkata \ --use-rewrites=1 \ --search-engine=opensearch \ --opensearch-host=localhost \ --opensearch-port=9200
The installer performs several tasks:
- Creates the Magento database structure
- Installs required modules
- Generates dependency injection files
- Creates the administrator account
- Configures the storefront
- Generates encryption keys
- Writes configuration files
The installation may take between five and fifteen minutes depending on the server specifications.
When completed successfully, you should see a message similar to:
text[SUCCESS]: Magento installation complete.
Step 18 – Verify the Magento Installation
Check the installed version.
bashbin/magento --version
Example output:
textMagento CLI version 2.4.8
Display all available commands.
bashbin/magento list
If the command list appears without errors, Magento has been installed correctly.
Step 19 – Configure Magento Deployment Mode
Magento supports three deployment modes.
| Mode | Purpose |
|---|---|
| Default | Development |
| Developer | Local Development |
| Production | Live Websites |
For production servers, switch to production mode.
bashbin/magento deploy:mode:set production
Verify the deployment mode.
bashbin/magento deploy:mode:show
Expected output:
textCurrent application mode: production
Production mode provides better performance by disabling unnecessary debugging features.
Step 20 – Flush Cache and Reindex
Magento uses caching extensively to improve performance.
After installation, flush the cache.
bashbin/magento cache:flush
Rebuild all indexes.
bashbin/magento indexer:reindex
Verify index status.
bashbin/magento indexer:status
All indexers should report:
textReady
At this stage, Magento is installed successfully and is ready to be connected to Nginx so that it can be accessed through your web browser.
Step 14 – Create the Web Root Directory
Before downloading Magento, create a directory where the application will be stored.
A common location for Nginx websites is /var/www/.
Run:
bashsudo mkdir -p /var/www/magento
Assign ownership to your current user so Composer can download files without permission issues.
bashsudo chown -R $USER:$USER /var/www/magento
Move into the newly created directory.
bashcd /var/www/magento
Verify the current directory.
bashpwd
Expected output:
text/var/www/magento
Step 15 – Download Magento Using Composer
Magento recommends installing the application using Composer because it simplifies dependency management and future upgrades.
Download Magento Community Edition.
bashcomposer create-project --repository-url=https://repo.magento.com/ \ magento/project-community-edition .
During the installation, Composer will ask for your Magento Marketplace Public Key and Private Key.
Example:
textUsername: Public Key Password: Private Key
You can generate these keys by signing in to your Adobe Commerce Marketplace account and creating new access keys.
Composer will now download all Magento dependencies.
Depending on your internet connection, this process may take several minutes.
After completion, verify that the files were downloaded successfully.
bashls
You should see folders similar to:
textapp bin dev generated lib pub setup var vendor
Step 16 – Configure File Permissions
Correct file permissions are essential for Magento to function properly.
First, change ownership.
bashsudo chown -R www-data:www-data /var/www/magento
Set directory permissions.
bashsudo find var generated vendor pub/static pub/media app/etc -type f -exec chmod g+w {} +
Set directory write permissions.
bashsudo find var generated vendor pub/static pub/media app/etc -type d -exec chmod g+ws {} +
Give execute permission to the Magento CLI.
bashsudo chmod +x bin/magento
Verify the file.
bashls -l bin/magento
Step 17 – Install Magento
Now it's time to install Magento.
Run the setup command.
Replace the values below with your own domain name, database credentials, and administrator information.
bashbin/magento setup:install \ --base-url=https://yourdomain.com \ --db-host=localhost \ --db-name=magento \ --db-user=magento \ --db-password=StrongPasswordHere \ --admin-firstname=Admin \ --admin-lastname=User \ --admin-email=admin@example.com \ --admin-user=admin \ --admin-password='Admin@12345' \ --language=en_US \ --currency=USD \ --timezone=Asia/Kolkata \ --use-rewrites=1 \ --search-engine=opensearch \ --opensearch-host=localhost \ --opensearch-port=9200
The installer performs several tasks:
- Creates the Magento database structure
- Installs required modules
- Generates dependency injection files
- Creates the administrator account
- Configures the storefront
- Generates encryption keys
- Writes configuration files
The installation may take between five and fifteen minutes depending on the server specifications.
When completed successfully, you should see a message similar to:
text[SUCCESS]: Magento installation complete.
Step 18 – Verify the Magento Installation
Check the installed version.
bashbin/magento --version
Example output:
textMagento CLI version 2.4.8
Display all available commands.
bashbin/magento list
If the command list appears without errors, Magento has been installed correctly.
Step 19 – Configure Magento Deployment Mode
Magento supports three deployment modes.
| Mode | Purpose |
|---|---|
| Default | Development |
| Developer | Local Development |
| Production | Live Websites |
For production servers, switch to production mode.
bashbin/magento deploy:mode:set production
Verify the deployment mode.
bashbin/magento deploy:mode:show
Expected output:
textCurrent application mode: production
Production mode provides better performance by disabling unnecessary debugging features.
Step 20 – Flush Cache and Reindex
Magento uses caching extensively to improve performance.
After installation, flush the cache.
bashbin/magento cache:flush
Rebuild all indexes.
bashbin/magento indexer:reindex
Verify index status.
bashbin/magento indexer:status
All indexers should report:
textReady
At this stage, Magento is installed successfully and is ready to be connected to Nginx so that it can be accessed through your web browser.