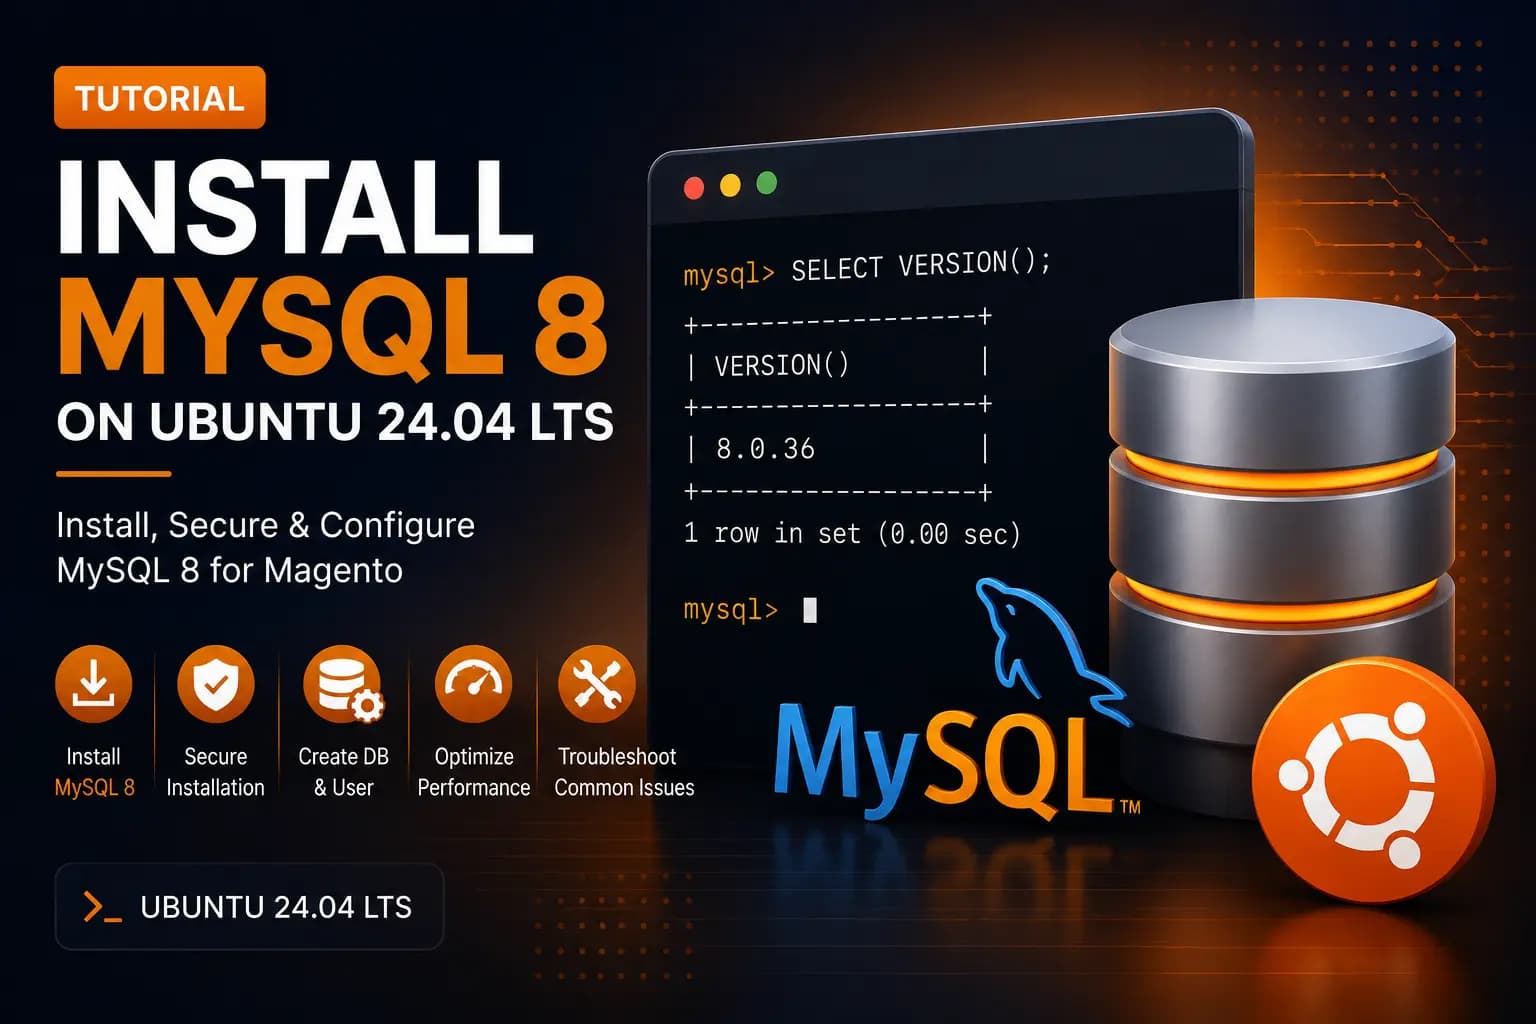
How to Install MySQL 8 on Ubuntu 24.04 LTS
MySQL is one of the most widely used relational database management systems and is commonly used with PHP applications such as Magento, WordPress, Laravel, and many others.
In this guide, you'll install MySQL 8, secure the server, create a database and user for Magento, verify the installation, and learn basic administration commands.
Why MySQL?
MySQL offers:
- Excellent performance
- High reliability
- Strong community support
- ACID-compliant transactions
- Compatibility with Magento
Prerequisites
Before starting, ensure you have:
- Ubuntu 24.04 LTS
- A sudo user
- Terminal access
- PHP installed (recommended if you're preparing a Magento server)
Step 1 — Update Your System
bashsudo apt update sudo apt upgrade -y
Keeping packages updated helps ensure you're installing the latest security fixes.
Step 2 — Install MySQL Server
Install MySQL:
bashsudo apt install mysql-server -y
Verify the installation:
bashmysql --version
Example output:
textmysql Ver 8.x.x
Step 3 — Start and Enable MySQL
Check the service status:
bashsudo systemctl status mysql
Enable MySQL to start automatically at boot:
bashsudo systemctl enable mysql
If needed, start the service:
bashsudo systemctl start mysql
Step 4 — Secure Your Installation
Run the security script:
bashsudo mysql_secure_installation
The wizard will help you:
- Set a root password (depending on authentication method)
- Remove anonymous users
- Disallow remote root login
- Remove the test database
- Reload privilege tables
These steps improve the security of your MySQL server.
Step 5 — Log In to MySQL
bashsudo mysql
If your installation uses password authentication:
bashmysql -u root -p
Exit the MySQL shell:
sqlEXIT;
Step 6 — Create a Database for Magento
sqlCREATE DATABASE magento;
Use a descriptive database name that matches your project.
Step 7 — Create a Database User
Replace the password below with a strong, unique password.
sqlCREATE USER 'magento'@'localhost' IDENTIFIED BY 'StrongPasswordHere';
Step 8 — Grant Permissions
sqlGRANT ALL PRIVILEGES ON magento.* TO 'magento'@'localhost'; FLUSH PRIVILEGES;
This gives the Magento user full access to the Magento database.
Step 9 — Verify the Database
List all databases:
sqlSHOW DATABASES;
Verify the new user:
sqlSELECT user, host FROM mysql.user;
Common MySQL Commands
Show databases:
sqlSHOW DATABASES;
Select a database:
sqlUSE magento;
Show tables:
sqlSHOW TABLES;
Exit MySQL:
sqlEXIT;
Troubleshooting
MySQL Service Not Running
Check the service:
bashsudo systemctl status mysql
Restart it:
bashsudo systemctl restart mysql
Can't Connect to MySQL
Verify the service is running and confirm the username, password, and authentication method you're using.
Access Denied
Double-check:
- Username
- Password
- Granted privileges
- Host (
localhostvs. another host)
Best Practices
- Use strong passwords.
- Create separate users for each application.
- Grant only the required permissions.
- Back up your databases regularly.
- Keep MySQL updated.
Frequently Asked Questions
How do I check the MySQL version?
bashmysql --version
How do I start MySQL?
bashsudo systemctl start mysql
How do I stop MySQL?
bashsudo systemctl stop mysql
How do I restart MySQL?
bashsudo systemctl restart mysql
How do I list databases?
sqlSHOW DATABASES;
Conclusion
Congratulations! 🎉
You've successfully installed MySQL 8 on Ubuntu 24.04 LTS, secured the server, and created a dedicated database and user for Magento.
Your database server is now ready for the next stage of the Magento installation process.
Continue the Magento Installation Series
Next tutorial:
➡️ How to Install OpenSearch on Ubuntu 24.04 for Magento 2.4.8
Upcoming guides:
- Install Redis
- Install Nginx
- Install Magento 2.4.8
- Configure Production Mode
- Configure Cron Jobs
- File Permissions