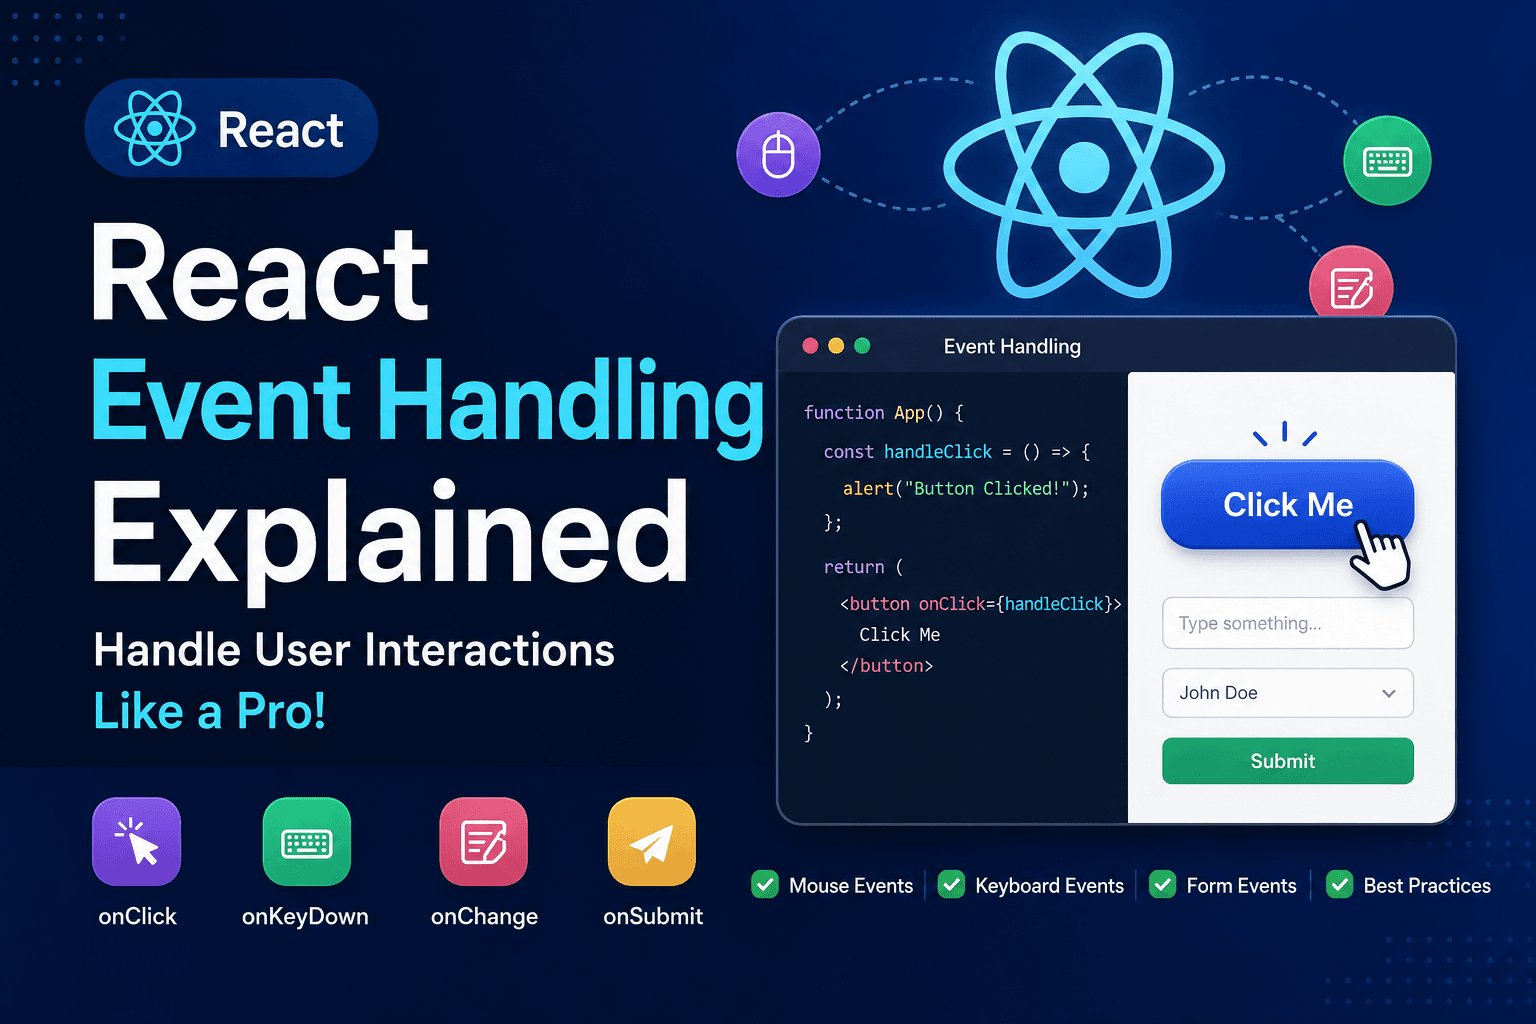
React Event Handling Explained
React applications become interactive because they can respond to user actions such as clicking buttons, typing into input fields, submitting forms, hovering over elements, or pressing keyboard keys.
These user interactions are called Events, and the process of responding to them is known as Event Handling.
Whether you're building a simple counter application, an eCommerce website, a login form, or a complex dashboard, event handling is one of the most fundamental concepts you'll use every day in React development.
If you've already learned about JSX, Components, Props, and State, then Event Handling is the next logical step because it allows users to interact with your application and update the State dynamically.
In this guide, we'll learn everything about React Event Handling from beginner to intermediate level with practical examples and best practices.
What You'll Learn
By the end of this guide you'll understand:
- What Event Handling is
- Why React uses Event Handling
- React Events vs HTML Events
- onClick Event
- Passing Functions
- Passing Arguments
- Mouse Events
- Keyboard Events
- Form Events
- Event Object
- preventDefault()
- stopPropagation()
- Real-world Examples
- Best Practices
- Common Mistakes
- React Interview Questions
Prerequisites
Before reading this guide you should understand:
- JavaScript Functions
- Arrow Functions
- JSX
- React Components
- React Props
- React State
- useState Hook
If you haven't read those topics yet, we recommend completing the previous lessons first.
What is Event Handling?
Event Handling is the process of responding to user actions within your application.
Whenever a user performs an action, React can execute a JavaScript function.
Examples include:
- Clicking a button
- Typing into an input
- Hovering over an image
- Pressing a keyboard key
- Submitting a form
- Double-clicking an element
Instead of constantly checking whether something happened, React waits for an event and then executes the appropriate function.
Without event handling, your React application would simply display information and never respond to the user.
Real-Life Analogy
Imagine a doorbell outside your home.
Nothing happens until someone presses the button.
When the visitor presses the doorbell, a signal is sent and the bell rings.
The button press is the event.
The ringing of the bell is the event handler.
React follows the same concept.
Whenever a user interacts with your application, React detects the event and executes the function you specify.
React Events vs HTML Events
If you've worked with HTML and JavaScript before, you may already know how events are handled.
For example, in plain HTML:
html<button onclick="showMessage()"> Click Me </button>
The onclick attribute executes a JavaScript function when the button is clicked.
React follows the same concept but with a cleaner and more JavaScript-friendly syntax.
Instead of passing a string, React expects a JavaScript function.
jsx<button onClick={showMessage}> Click Me </button>
Notice two important differences.
| HTML | React |
|---|---|
| onclick | onClick |
| String | JavaScript Function |
The event name uses camelCase in React.
For example:
| HTML | React |
|---|---|
| onclick | onClick |
| ondblclick | onDoubleClick |
| onchange | onChange |
| onsubmit | onSubmit |
| onmouseover | onMouseOver |
| onkeydown | onKeyDown |
This naming convention is used throughout React.
Your First Event
Let's create our first React event.
jsxfunction App() { function handleClick() { alert("Button Clicked!"); } return ( <button onClick={handleClick}> Click Me </button> ); } export default App;
Output:
[ Click Me ]
When the button is clicked, React executes the handleClick() function and displays the alert.
Although this example is simple, the same approach is used in real-world applications to perform actions such as:
- Opening a modal
- Adding products to a cart
- Saving data
- Deleting records
- Navigating to another page
Understanding onClick
onClick is one of the most commonly used events in React.
It fires whenever a user clicks an element.
jsx<button onClick={handleClick}> Save </button>
The flow looks like this:
User Clicks Button

↓

onClick Event Fires

↓

handleClick()

↓

React Executes Code

↓

UI Updates (if State Changes)
Notice that React only calls the function after the user clicks the button.
Event Handler Functions
An event handler is simply a JavaScript function that runs when an event occurs.
Example:
jsxfunction showWelcome() { console.log("Welcome to React!"); } <button onClick={showWelcome}> Start Learning </button>
When the user clicks the button, the message appears in the browser console.
You can write event handlers using either traditional functions or arrow functions.
Traditional Function:
jsxfunction handleClick() { console.log("Clicked"); }
Arrow Function:
jsxconst handleClick = () => { console.log("Clicked"); };
Both approaches are valid.
Choose whichever style is consistent with your project.
Why Don't We Write Parentheses?
Many beginners make this mistake.
❌ Incorrect
jsx<button onClick={handleClick()}>
This immediately executes the function during rendering.
The user doesn't even need to click the button.
Instead, always pass the function reference.
✅ Correct
jsx<button onClick={handleClick}>
React will execute it automatically when the click occurs.
Think of it like this.
handleClick
Means:
"Run this later."
While
handleClick()
Means:
"Run this right now."
Understanding this difference will help you avoid one of the most common beginner mistakes in React.
Inline Event Handlers
In the previous examples, we passed a function directly.
jsx<button onClick={handleClick}> Click Me </button>
Sometimes you only need to execute one simple statement.
Instead of creating a separate function, you can use an inline arrow function.
Example:
jsx<button onClick={() => alert("Welcome to React!")} > Click Me </button>
When the button is clicked, the alert appears immediately.
Inline event handlers are useful for small pieces of logic.
Examples include:
- Showing an alert
- Updating State
- Calling another function
- Toggling Dark Mode
When Should You Use Inline Functions?
Inline functions are perfectly acceptable when the logic is small.
Good Example:
jsx<button onClick={() => setCount(count + 1)} > Increment </button>
This is easy to read.
However, avoid placing large amounts of code directly inside JSX.
❌ Bad Example
jsx<button onClick={() => { console.log("Saving..."); validateForm(); saveUser(); sendEmail(); updateDashboard(); navigate("/home"); }} > Save </button>
Large event handlers make JSX difficult to read.
Instead, move the logic into a separate function.
jsxfunction handleSave() { console.log("Saving..."); validateForm(); saveUser(); sendEmail(); updateDashboard(); navigate("/home"); }
Now JSX becomes much cleaner.
jsx<button onClick={handleSave}> Save </button>
This approach is recommended for larger applications.
Passing Arguments to Event Handlers
Sometimes your event handler needs additional information.
Imagine an online store.
Every product has its own Add to Cart button.
When the customer clicks the button, you need to know which product was selected.
Example:
jsxfunction addToCart(productId) { console.log(productId); }
Passing the function directly won't work because React doesn't know which product to send.
Instead, wrap it inside an arrow function.
jsx<button onClick={() => addToCart(101)} > Add To Cart </button>
Output:
101
Now React waits until the button is clicked before calling the function.
Why Can't We Write This?
Many beginners try this.
❌ Wrong
jsx<button onClick={addToCart(101)} > Add To Cart </button>
This immediately executes:
jsxaddToCart(101);
during rendering.
The user hasn't clicked anything yet.
Instead, React expects a function reference.
Correct approach:
jsx<button onClick={() => addToCart(101)} > Add To Cart </button>
The arrow function creates a new function that React calls later.
Passing Multiple Arguments
You can pass more than one value.
jsxfunction orderProduct(id, quantity) { console.log(id); console.log(quantity); }
jsx<button onClick={() => orderProduct(101, 2)} > Order </button>
Output:
101

2
This approach is commonly used in:
- Shopping carts
- Product listings
- User management
- Admin dashboards
Real-world Example
Imagine an eCommerce website displaying products.
jsxconst products = [ { id: 1, name: "Laptop" }, { id: 2, name: "Mouse" } ];
Rendering buttons:
jsx{products.map(product => ( <button key={product.id} onClick={() => addToCart(product.id)} > Add {product.name} </button> ))}
Now every button sends its own product ID.
Clicking:
Add Laptop
prints:
1
Clicking:
Add Mouse
prints:
2
This pattern is used in almost every React application.
Mouse Events
React provides several events that respond to mouse interactions.
Some commonly used mouse events are:
- onClick
- onDoubleClick
- onMouseEnter
- onMouseLeave
- onMouseMove
These events help create interactive user interfaces.
onDoubleClick
The onDoubleClick event executes when the user double-clicks an element.
Example:
jsxfunction handleDoubleClick() { alert("Button Double Clicked!"); } function App() { return ( <button onDoubleClick={handleDoubleClick}> Double Click Me </button> ); } export default App;
Output:
Double Click Me
The alert appears only after the user double-clicks the button.
This event is commonly used for:
- Editing records
- Opening files
- Zooming images
- Renaming items
onMouseEnter
The onMouseEnter event executes when the mouse pointer enters an element.
Example:
jsxfunction App() { function handleEnter() { console.log("Mouse Entered"); } return ( <div onMouseEnter={handleEnter} style={{ width: "200px", height: "120px", background: "#ddd" }} > Hover Here </div> ); }
Whenever the pointer enters the box, React executes the function.
Common use cases:
- Showing tooltips
- Highlighting cards
- Displaying menus
- Hover animations
onMouseLeave
The opposite of onMouseEnter.
jsxfunction App() { function handleLeave() { console.log("Mouse Left"); } return ( <div onMouseLeave={handleLeave} > Hover Here </div> ); }
This event is useful for:
- Closing menus
- Hiding tooltips
- Removing highlights
onMouseMove
The onMouseMove event runs continuously while the mouse moves over an element.
Example:
jsxfunction App() { function handleMove() { console.log("Mouse Moving"); } return ( <div onMouseMove={handleMove} > Move Mouse Here </div> ); }
Be careful.
This event fires many times every second.
Avoid running expensive operations inside onMouseMove.
Keyboard Events
React also supports keyboard interactions.
Common keyboard events include:
- onKeyDown
- onKeyUp
- onKeyPress (deprecated)
Keyboard events are useful for:
- Search boxes
- Login forms
- Keyboard shortcuts
- Chat applications
- Games
onKeyDown
The onKeyDown event executes when the user presses a key.
Example:
jsxfunction App() { function handleKeyDown(event) { console.log(event.key); } return ( <input type="text" onKeyDown={handleKeyDown} /> ); }
If the user types:
A
Console:
A
Press:
Enter
Console:
Enter
onKeyUp
onKeyUp executes after the key is released.
jsx<input onKeyUp={(event)=> console.log(event.key) } />
This event is commonly used for:
- Search suggestions
- Keyboard shortcuts
- Validation
React Event Object
Whenever an event occurs, React automatically passes an object describing that event.
Example:
jsxfunction handleClick(event) { console.log(event); }
The event object contains useful information like:
- Which key was pressed
- Mouse position
- Target element
- Input value
- Event type
Most developers simply call it:
jsxevent
or
jsxe
Both are perfectly valid.
jsxfunction handleClick(e) { console.log(e); }
Reading Input Values
One of the most common uses of the event object is reading user input.
Example:
jsxfunction App() { function handleChange(event) { console.log(event.target.value); } return ( <input type="text" onChange={handleChange} /> ); }
If the user types:
React
Console:
R

Re

Rea

Reac

React
React updates the value every time the input changes.
This is the foundation of React forms.
Form Events
Forms are one of the most common places where event handling is used in React.
Whether users are logging in, registering, searching, or submitting feedback, React relies on form events to process user input.
The two most frequently used form events are:
onChangeonSubmit
onChange Event
The onChange event executes whenever the value of an input field changes.
It is commonly used with React State to create controlled components.
Example:
jsximport { useState } from "react"; function App() { const [name, setName] = useState(""); function handleChange(event) { setName(event.target.value); } return ( <> <input type="text" value={name} onChange={handleChange} placeholder="Enter your name" /> <h2>Hello {name}</h2> </> ); } export default App;
Output:
Input:

John

↓

Hello John
Every time the user types a character, React updates the State and automatically refreshes the UI.
onSubmit Event
The onSubmit event executes when a form is submitted.
Example:
jsxfunction App() { function handleSubmit() { alert("Form Submitted"); } return ( <form onSubmit={handleSubmit}> <input type="text" /> <button> Submit </button> </form> ); }
When the Submit button is clicked, React executes the handleSubmit() function.
Why Does the Page Refresh?
If you've tried submitting a form, you've probably noticed that the browser refreshes the page.
This is normal browser behavior.
HTML forms automatically reload the page after submission.
In React, we usually want to prevent this because our application updates the UI without reloading the page.
That's where preventDefault() comes in.
preventDefault()
The preventDefault() method stops the browser's default behavior.
Example:
jsxfunction App() { function handleSubmit(event) { event.preventDefault(); alert("Form Submitted Successfully"); } return ( <form onSubmit={handleSubmit}> <input type="text" /> <button> Submit </button> </form> ); }
Now the page will not refresh after submitting the form.
Instead, React handles everything inside JavaScript.
When Should You Use preventDefault()?
Common examples include:
- Login Forms
- Registration Forms
- Contact Forms
- Newsletter Forms
- Search Forms
- Checkout Forms
Almost every React application uses preventDefault().
stopPropagation()
Sometimes events "bubble" from a child element to its parent.
Example:
jsx<div onClick={() => console.log("Parent")}> <button onClick={() => console.log("Button")} > Click </button> </div>
Clicking the button prints:
Button

Parent
This happens because the click event bubbles up to the parent element.
Prevent Event Bubbling
React provides stopPropagation().
Example:
jsx<div onClick={() => console.log("Parent")}> <button onClick={(event) => { event.stopPropagation(); console.log("Button"); }} > Click </button> </div>
Output:
Button
The parent event never executes.
Real-world Example
Imagine a shopping cart.
The entire product card opens the product page when clicked.
However, the "Add to Cart" button should only add the item to the cart.
Without stopPropagation():
User clicks Add To Cart

↓

Product Added

↓

Product Page Opens
With stopPropagation():
User clicks Add To Cart

↓

Product Added

↓

Product Page Stays Open
This creates a much better user experience.
Complete Login Form Example
jsximport { useState } from "react"; function App() { const [email, setEmail] = useState(""); function handleSubmit(event) { event.preventDefault(); alert(`Welcome ${email}`); } return ( <form onSubmit={handleSubmit}> <input type="email" value={email} onChange={(event) => setEmail(event.target.value) } placeholder="Enter Email" /> <button> Login </button> </form> ); } export default App;
This example combines several React concepts:
- useState
- onChange
- onSubmit
- Event Object
- preventDefault()
These concepts are used together in almost every React form you'll build.
Best Practices
Following best practices makes your React applications easier to read, maintain, and scale.
1. Use Named Functions for Complex Logic
Instead of writing large amounts of code inside JSX, move the logic into a separate function.
✅ Good
jsxfunction handleDelete() { console.log("Deleting..."); } <button onClick={handleDelete}> Delete </button>
2. Keep JSX Clean
Avoid writing long arrow functions directly inside JSX.
❌ Bad
jsx<button onClick={() => { validate(); save(); sendEmail(); navigate("/dashboard"); }} > Save </button>
Instead:
jsxfunction handleSave() { validate(); save(); sendEmail(); navigate("/dashboard"); } <button onClick={handleSave}> Save </button>
3. Always Use preventDefault() for Forms
Without it, the browser refreshes the page.
jsxfunction handleSubmit(event) { event.preventDefault(); }
4. Keep Event Handlers Small
One event should perform one responsibility.
Large event handlers become difficult to maintain.
5. Use Meaningful Function Names
Good examples:
jsxhandleLogin() handleSearch() handleAddToCart() handleCheckout() handleDelete()
Avoid generic names like:
jsxclick() test() button() abc()
Common Mistakes
Calling Functions Immediately
❌ Wrong
jsx<button onClick={handleClick()}>
✅ Correct
jsx<button onClick={handleClick}>
Forgetting preventDefault()
jsx<form onSubmit={handleSubmit}>
Without
jsxevent.preventDefault();
the page refreshes.
Writing Too Much Logic in JSX
Keep JSX readable.
Move complex code into helper functions.
Ignoring Event Objects
Many developers forget that React automatically provides the event object.
jsxfunction handleChange(event) { console.log(event.target.value); }
Using Anonymous Functions Everywhere
Arrow functions are useful, but don't overuse them for complex logic.
Prefer reusable named functions whenever possible.
Interview Questions
What is Event Handling in React?
Event Handling allows React applications to respond to user interactions such as clicks, typing, form submissions, and keyboard events.
What is the difference between HTML Events and React Events?
React uses camelCase event names and expects JavaScript functions instead of strings.
Example:
HTML
htmlonclick="save()"
React
jsxonClick={save}
Why do we use onClick instead of onclick?
React follows JavaScript naming conventions using camelCase.
Why shouldn't we write onClick={handleClick()}?
Because it executes immediately during rendering.
React expects a function reference.
What is SyntheticEvent?
React wraps browser events inside a SyntheticEvent object to provide consistent behavior across different browsers.
What is event.target?
It refers to the element that triggered the event.
What does preventDefault() do?
It prevents the browser's default behavior.
What does stopPropagation() do?
It stops an event from bubbling to parent elements.
Which React event is used for forms?
jsxonSubmit
Which React event is used for input fields?
jsxonChange
Which event detects keyboard input?
jsxonKeyDown
Which event detects mouse hover?
jsxonMouseEnter
What is the difference between onKeyDown and onKeyUp?
onKeyDown fires when a key is pressed.
onKeyUp fires when the key is released.
Frequently Asked Questions
Can I have multiple event handlers in one component?
Yes.
A component can respond to different events such as clicks, keyboard input, mouse movement, and form submissions.
Can I pass arguments to event handlers?
Yes.
Use an arrow function.
jsx<button onClick={() => deleteUser(5)} > Delete </button>
Can I use arrow functions inside JSX?
Yes.
They're commonly used for small event handlers.
Does every React application use Event Handling?
Yes.
Without event handling, React applications cannot respond to user actions.
Which event is used most often?
The most commonly used events are:
- onClick
- onChange
- onSubmit
- onKeyDown
Summary
In this guide, you learned:
- What Event Handling is
- React Events vs HTML Events
- onClick
- Inline Event Handlers
- Passing Arguments
- Mouse Events
- Keyboard Events
- Form Events
- Event Object
- preventDefault()
- stopPropagation()
- Best Practices
- Common Mistakes
- Interview Questions
- Frequently Asked Questions
Event Handling is one of the core concepts of React. Almost every React application relies on events to provide an interactive user experience. Mastering these concepts will make it much easier to build forms, dashboards, eCommerce applications, admin panels, and other modern web applications.
Next Steps
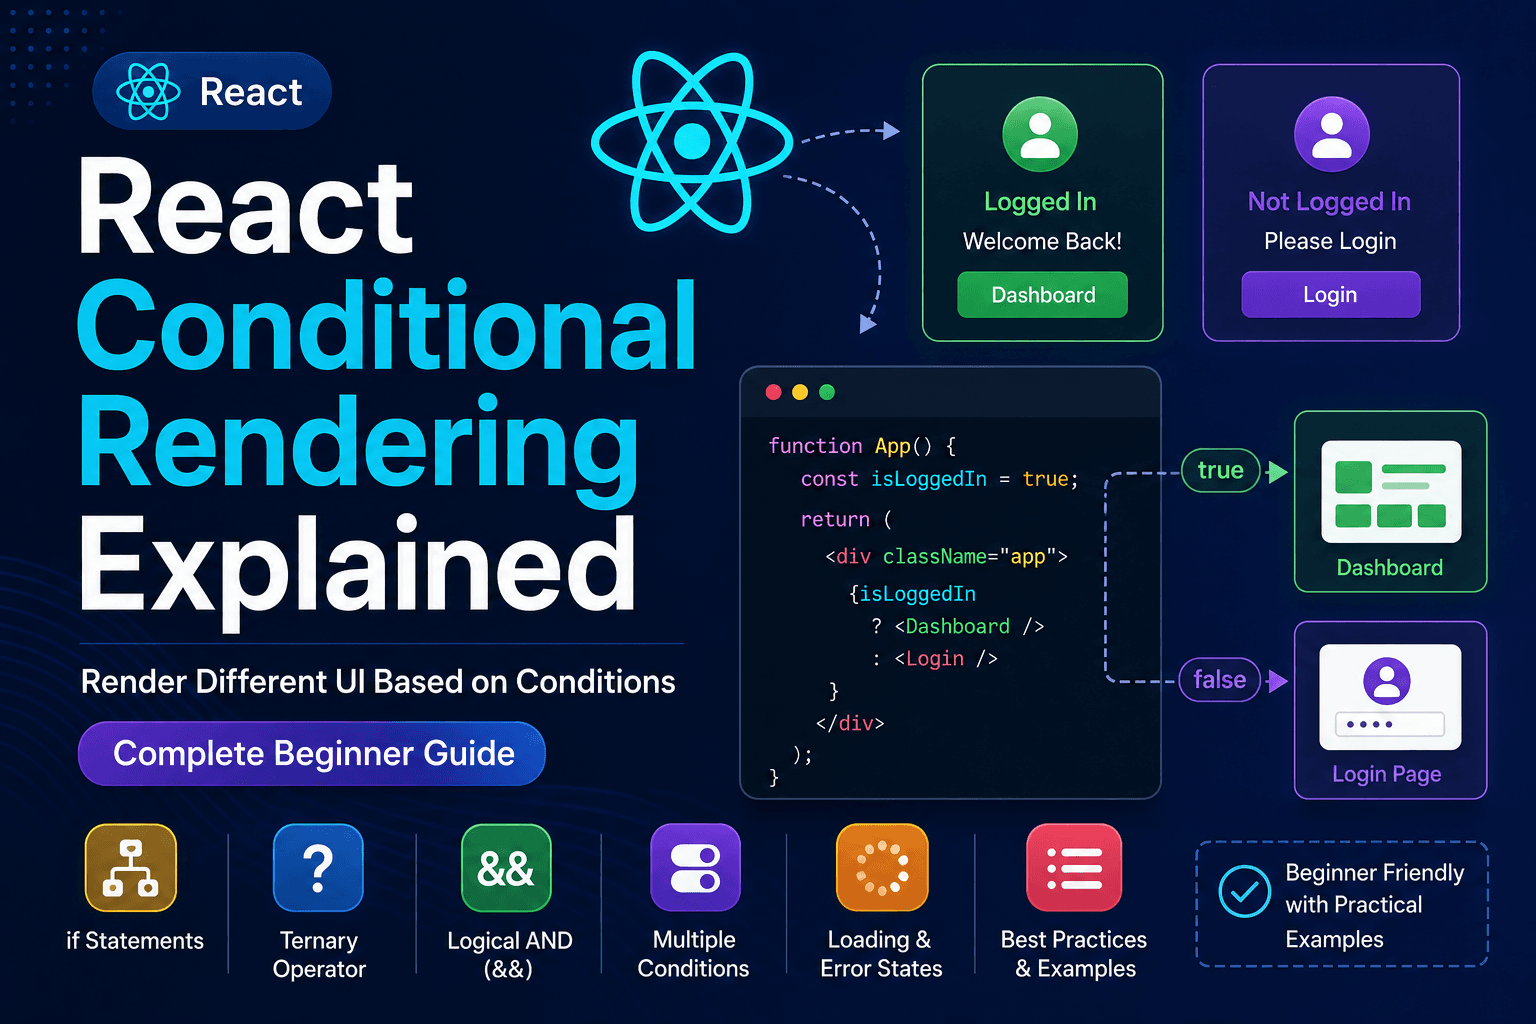
Now that you understand Event Handling, the next topic is React Conditional Rendering.
In the next lesson, you'll learn how to display different UI elements based on conditions using techniques such as if, the ternary operator, logical &&, and conditional components.
Continue your React learning journey with the following guides:
- What is React?
- Install React with Vite
- React Project Structure
- JSX Explained
- React Components Explained
- React Props Explained
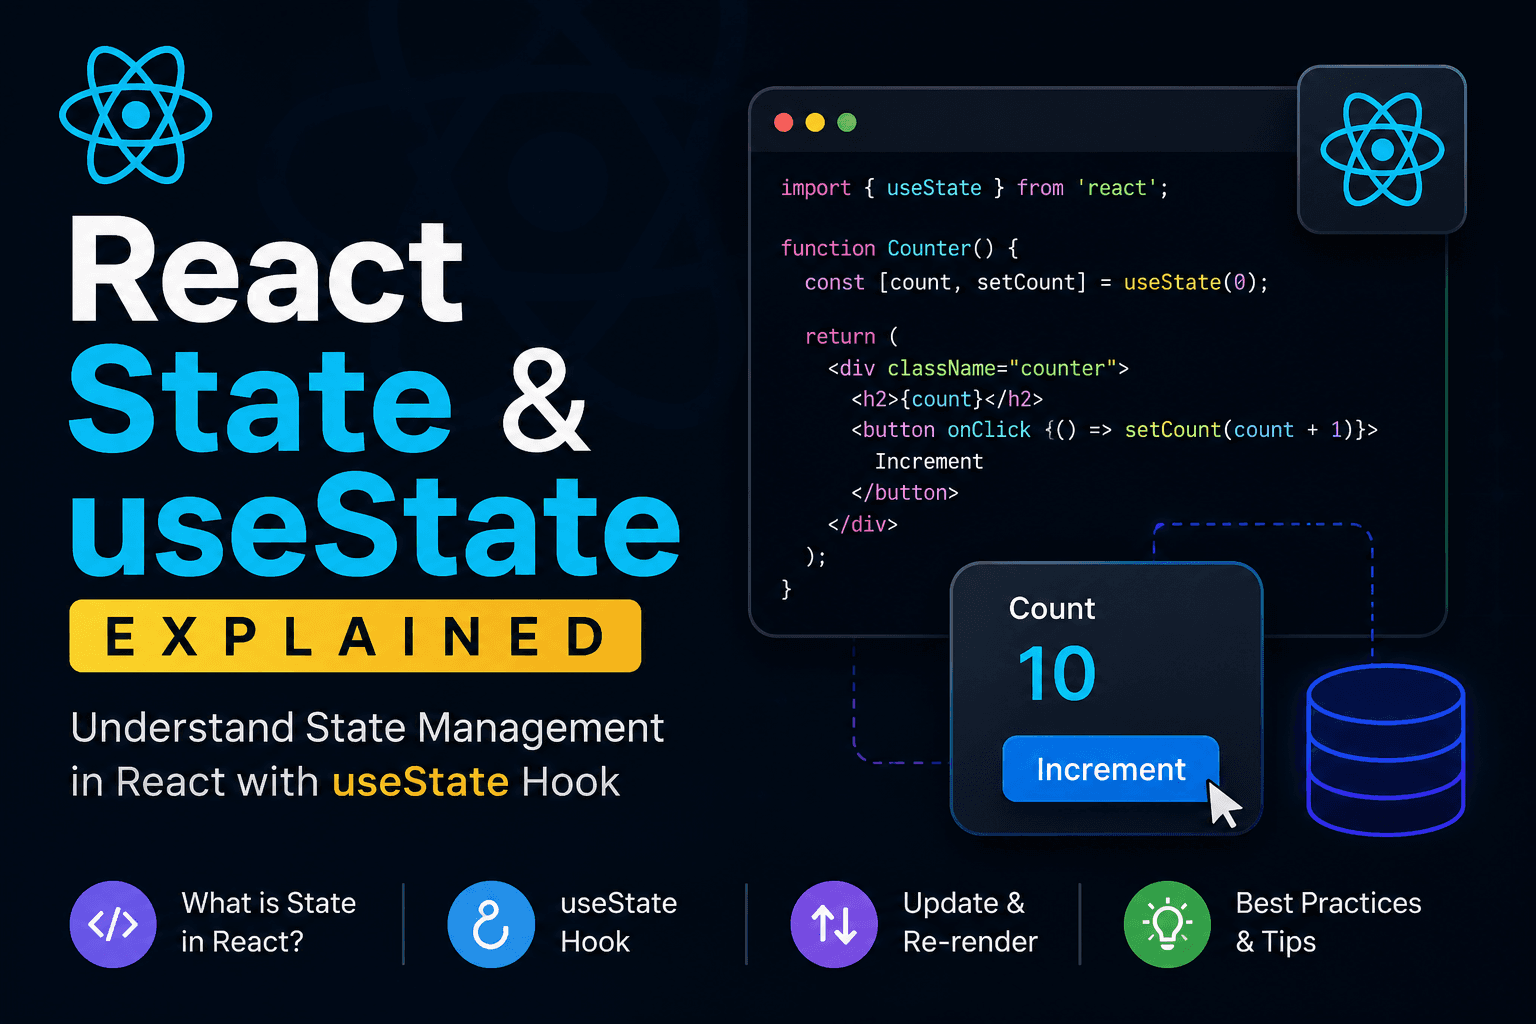
- React State & useState Explained
- React Conditional Rendering Explained (Next Lesson)